
# Quickstart
In this quickstart we will learn how to use Ontopic AI-assisted mapping generator to automatically propose class and property mapping entries. This assumes that you have a metaphactory docker compose deployment with the Ontopic app enabled (opens new window).
# Pre-requisites
In order for the quickstart to work, the system needs access to the Destination database. To run a local instance of the database, add the following block under the services: key of your docker-compose.override.yml file:
  destination-tutorial-db:
    image: ontopicvkg/destination-tutorial-db
    shm_size: 1g
    restart: unless-stopped
    environment:
      - POSTGRES_USER=postgres
      - POSTGRES_PASSWORD=postgres2
    networks:
      - databases
  ontopic-server:
    networks:
      - databases
This also attaches the existing ontopic-server service to the databases network so it can reach the database.
Additionally, in order for the AI-assisted mapping generator to work, the LLM provider needs to be configured as a secret for Ontopic (opens new window).
# 9 Steps to get you going
- Import the ontology
- Create a data source
- Create an empty mapping
- Enable AI-assisted mapping generator
- Create lenses from the database tables
- Map data to classes and properties
- Query the Knowledge Graph using SPARQL
- Materialize data into a graph database
- Query the Knowledge Graph using SQL
# Import the ontology
- Download the quickstart destination ontology
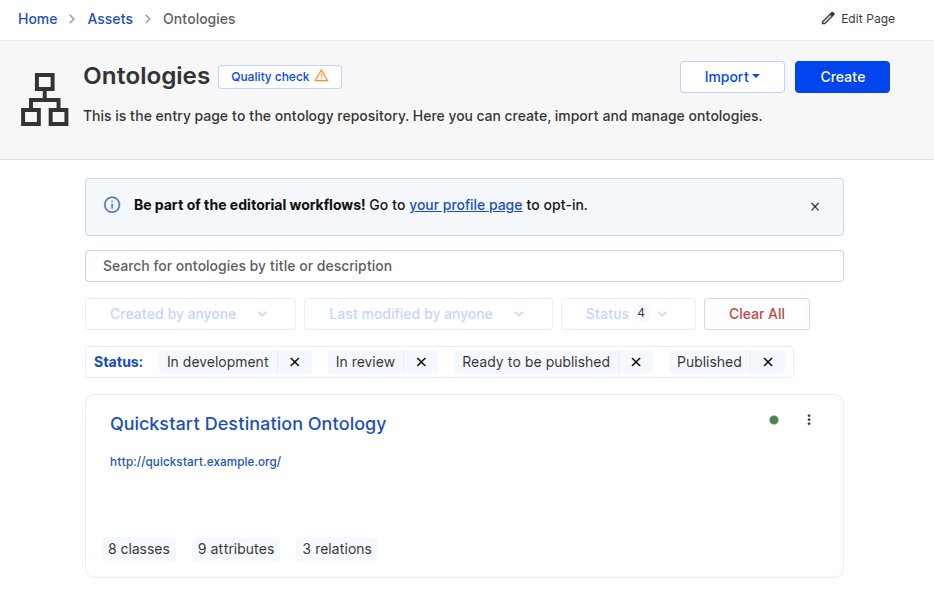
- In metaphactory, go to Assets > Ontologies, click on the Import menu and select Import from local file
- Upload the downloaded quickstart destination ontology
# Create a data source
- Go Assets > Datasources and click on Create datasource
- Fill in the connection information as shown below. The password is postgres2.
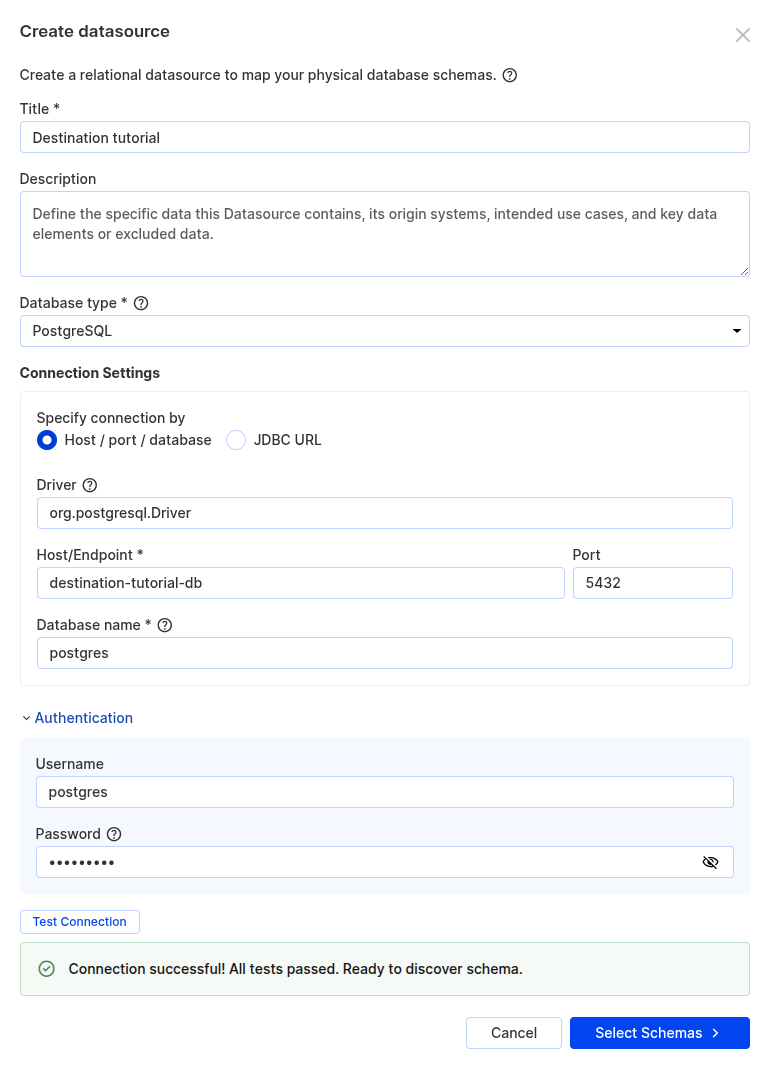
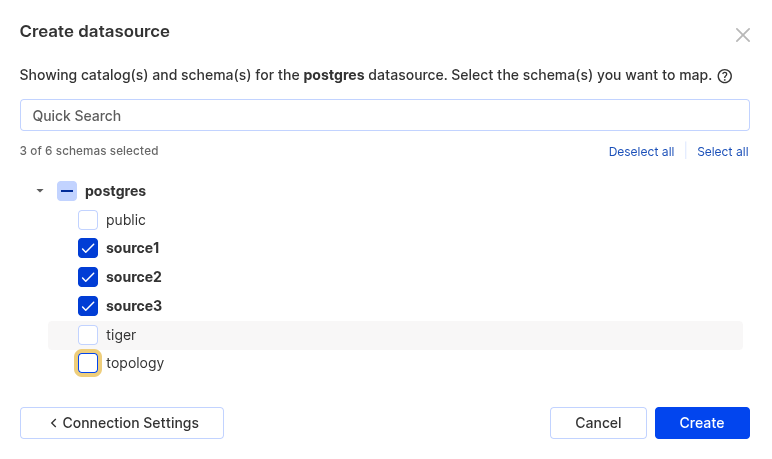
- Click on Select schemas
- Select the schemas source1, source2 and source3 and click on Create
# Create an empty mapping
On Assets > Datasources, find the datasource Destination tutorial in the list and click on its Create mapping button
Name the mapping as below, select the quickstart destination ontology, unselect Generate AI mapping and click on Create
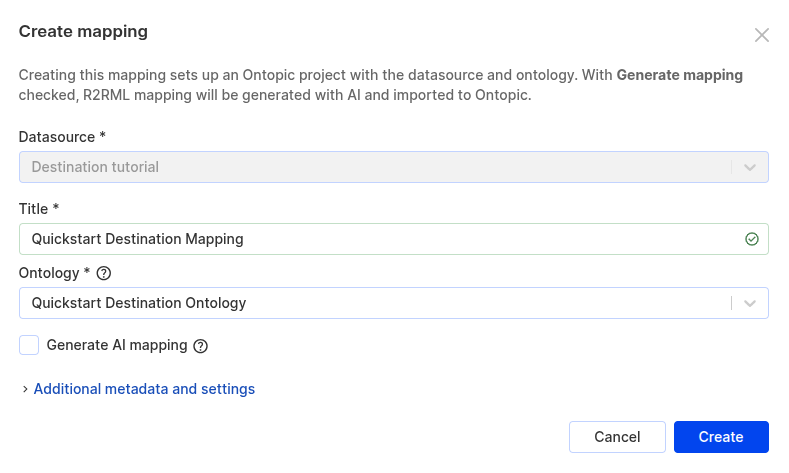
On the mapping page, wait for the button Map in Ontopic to appear and click on it
# Enable AI and label rendering
- In Ontopic, go to Settings > AI Configuration
- Click on Enable AI and select the preferred LLM model from the drop-down menu

- Go to Settings > Advanced settings
- Enable Use labels
# List of database tables
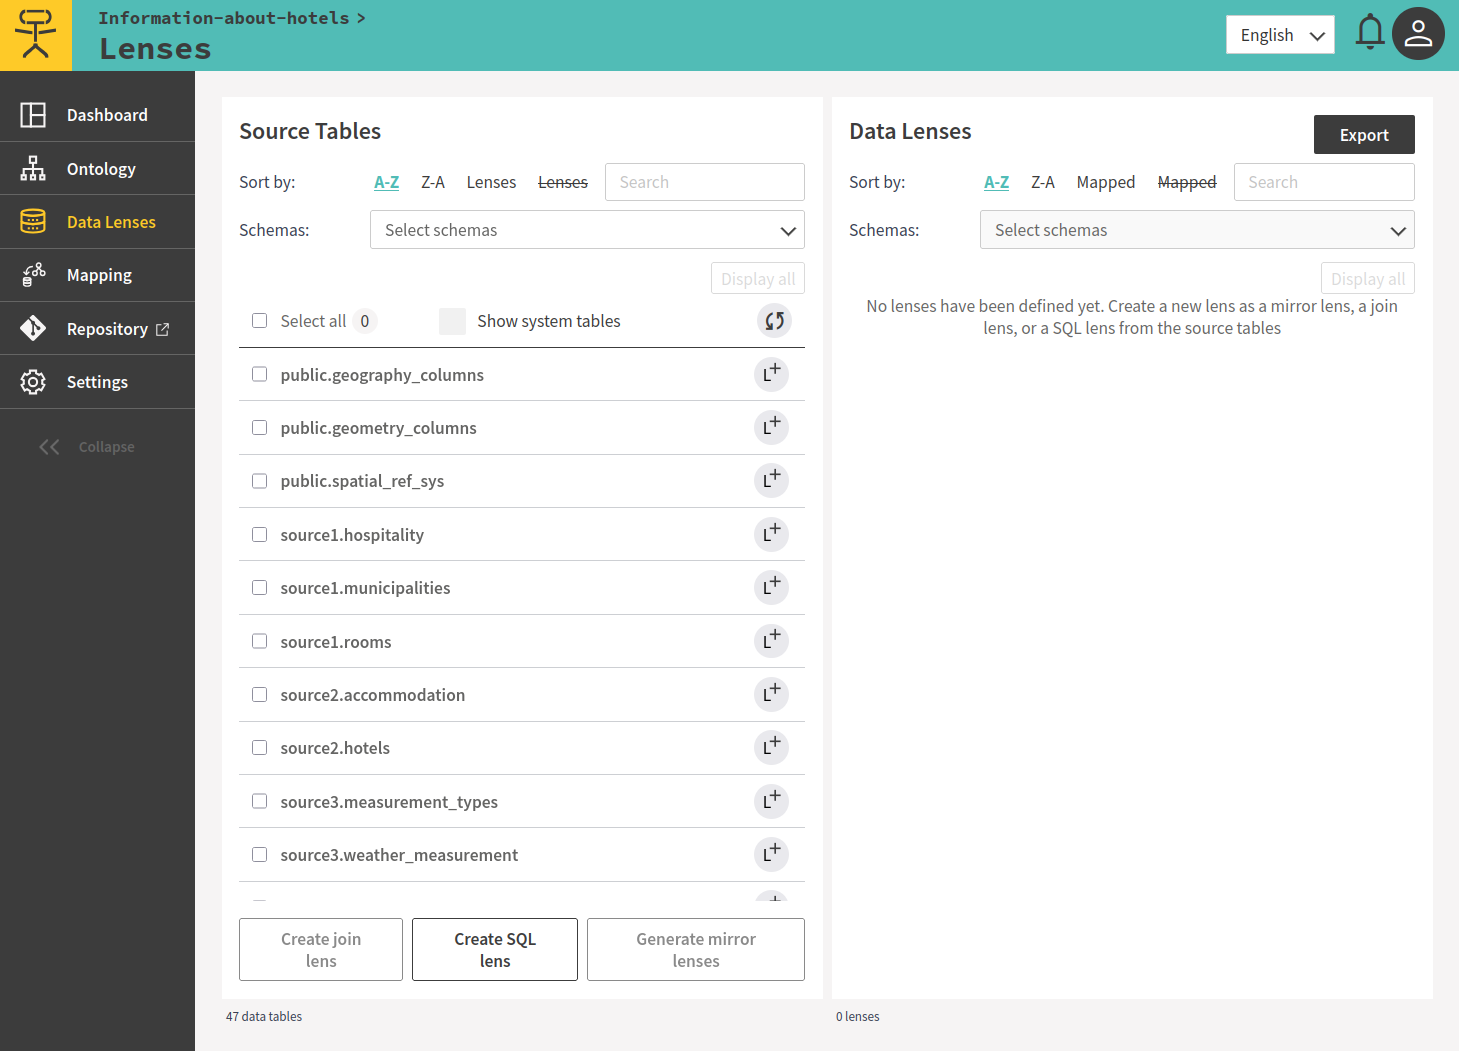
You can see the list of tables by selecting the Data Lenses tab on the left-side navigation menu
# What we want to build
Our goal is to build a Knowledge Graph giving us information about all the lodging businesses in South Tyrol, Italy.
For our tutorial, we will be using the following two tables for the sake of simplicity:
- source1.municipalities
- source1.hospitality
# Creating lenses
Select Data Lenses from the left-side navigation menu to get a list of all tables
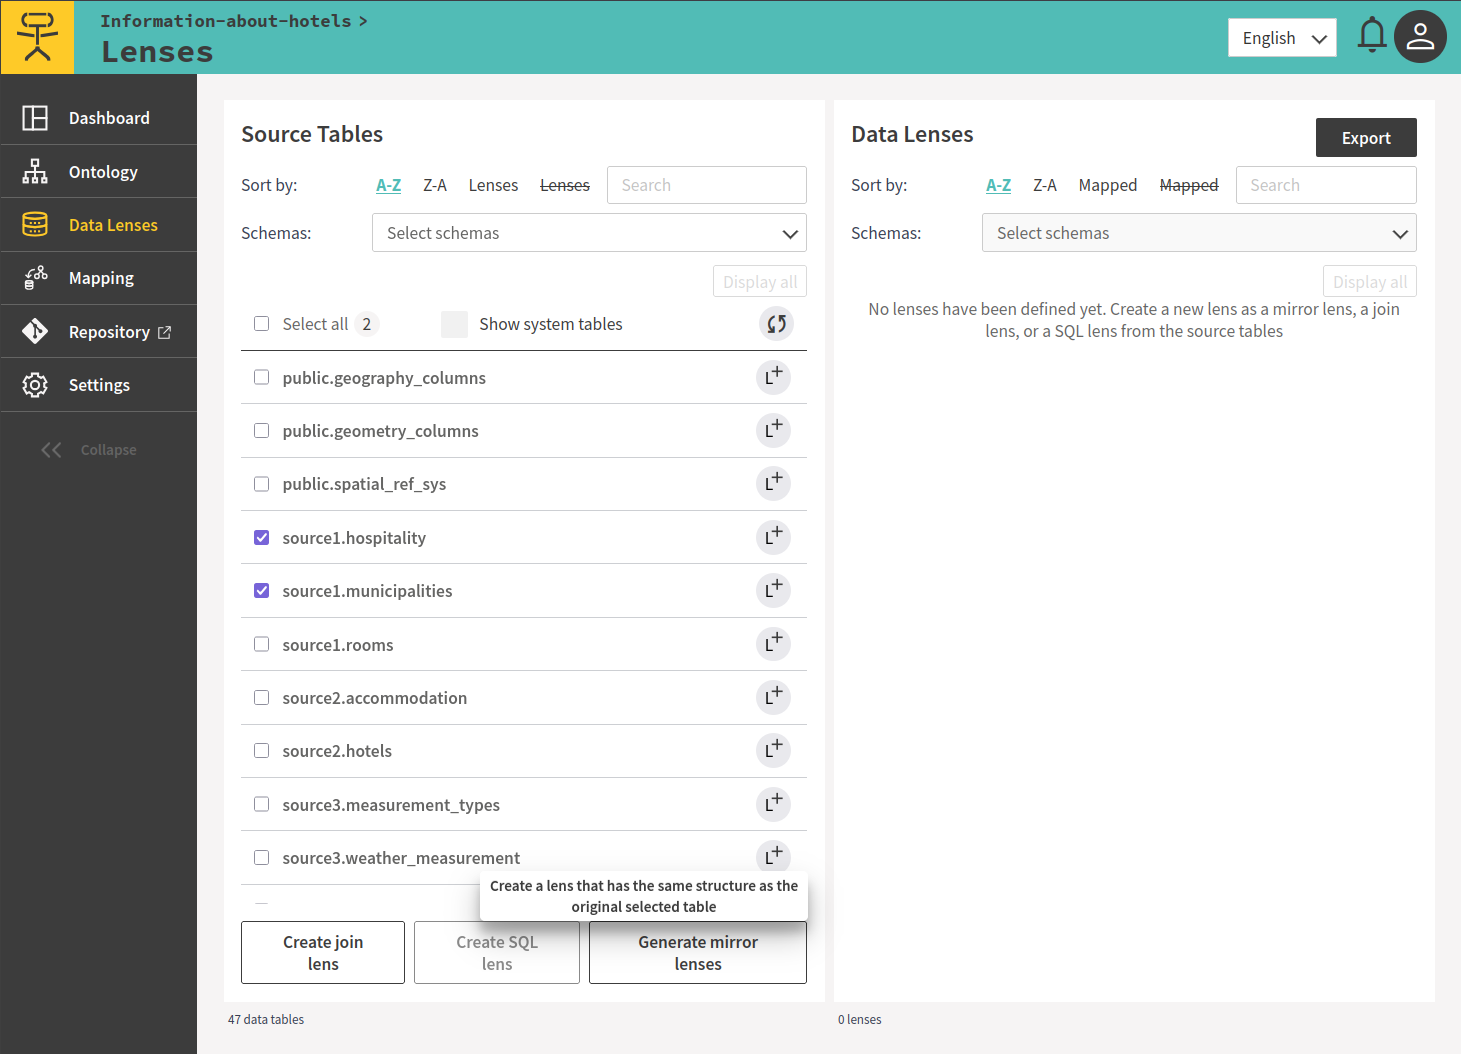
Select the two tables source1.hospitality and source1.municipalities, by checking the checkboxes and clicking Generate mirror lenses at the bottom of the page.
# Mapping data from the database to a Knowledge Graph
# Start populating your Graph (Mapping a lens to a class)
# Map municipalities to a class
Select Mapping from the left-side navigation menu and select the lens lenses.source1.municipalities.
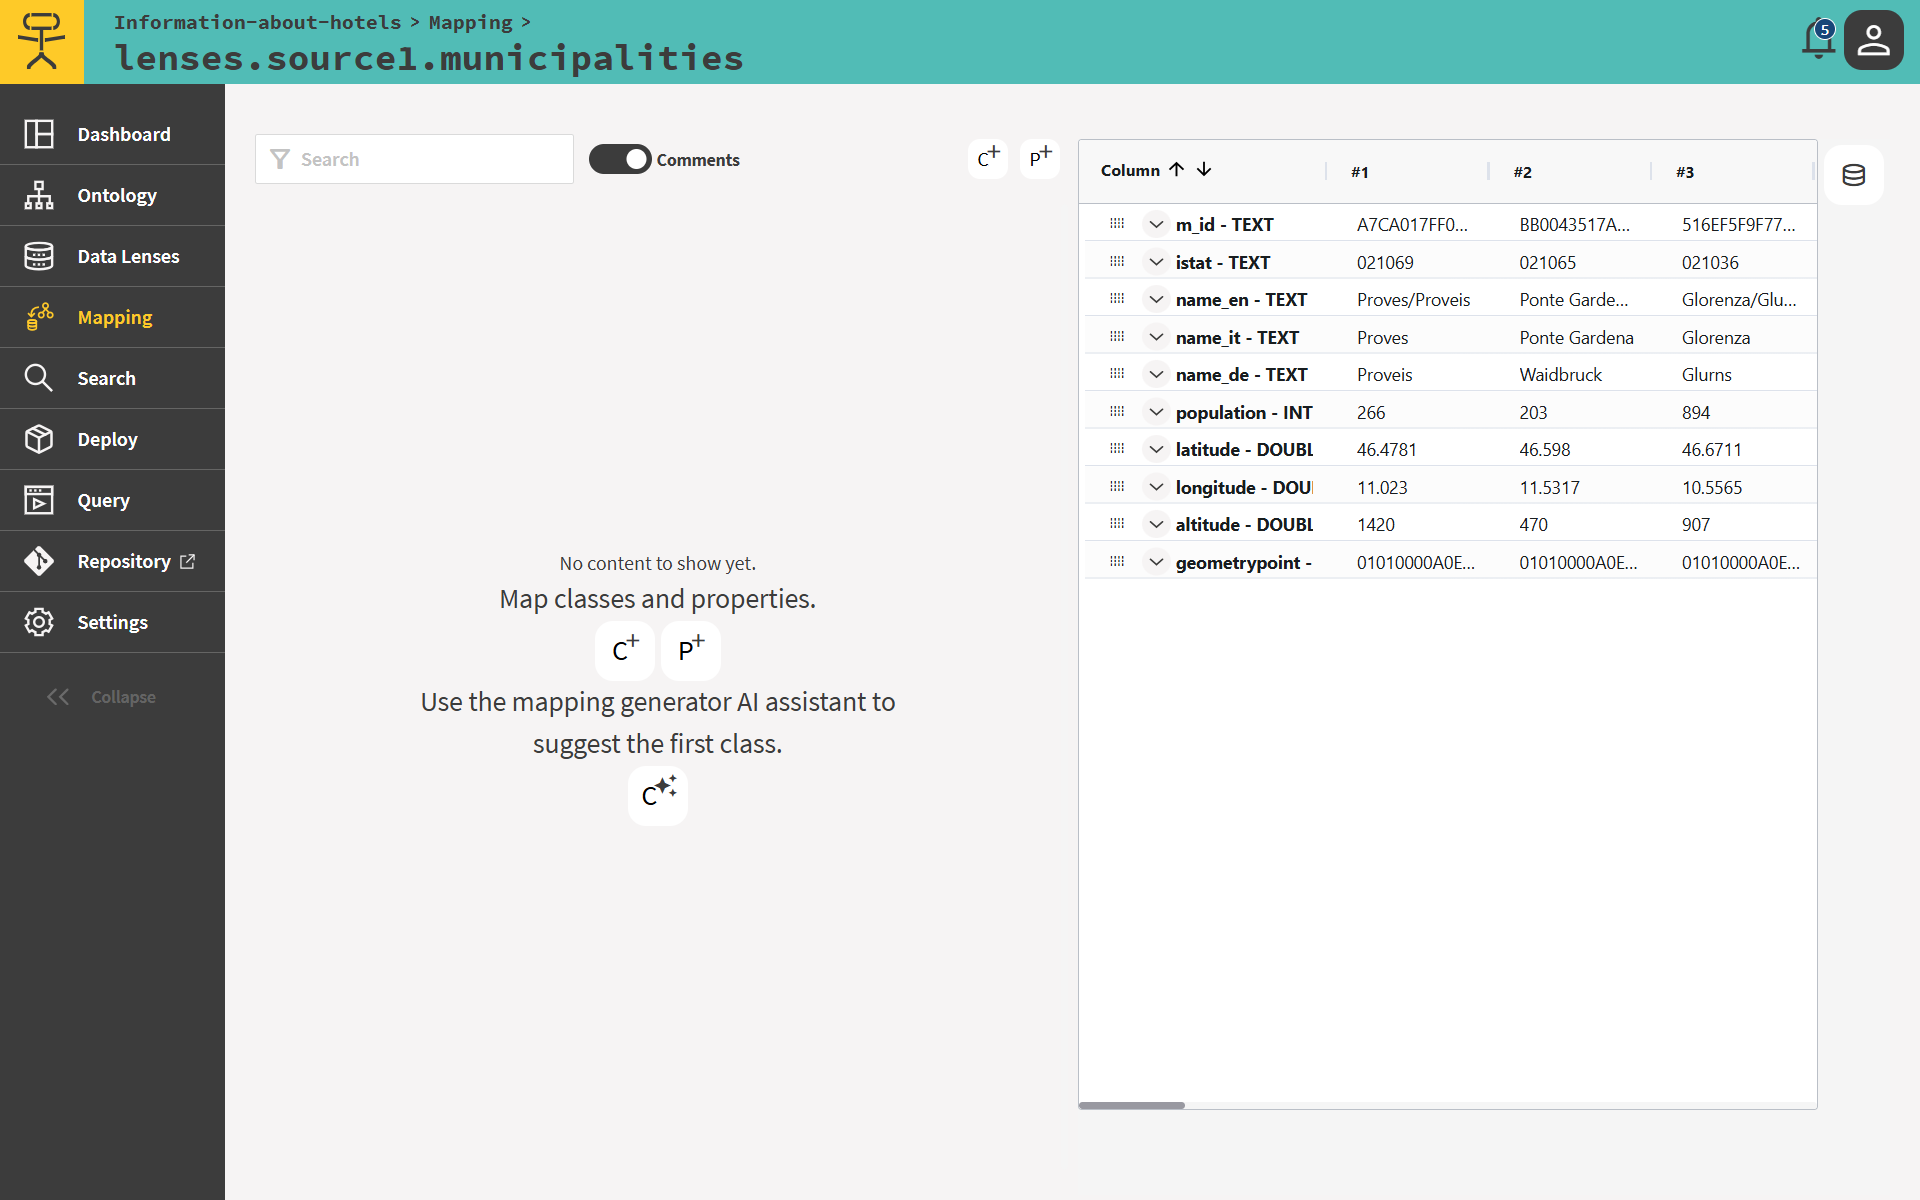
Click on the C* button.
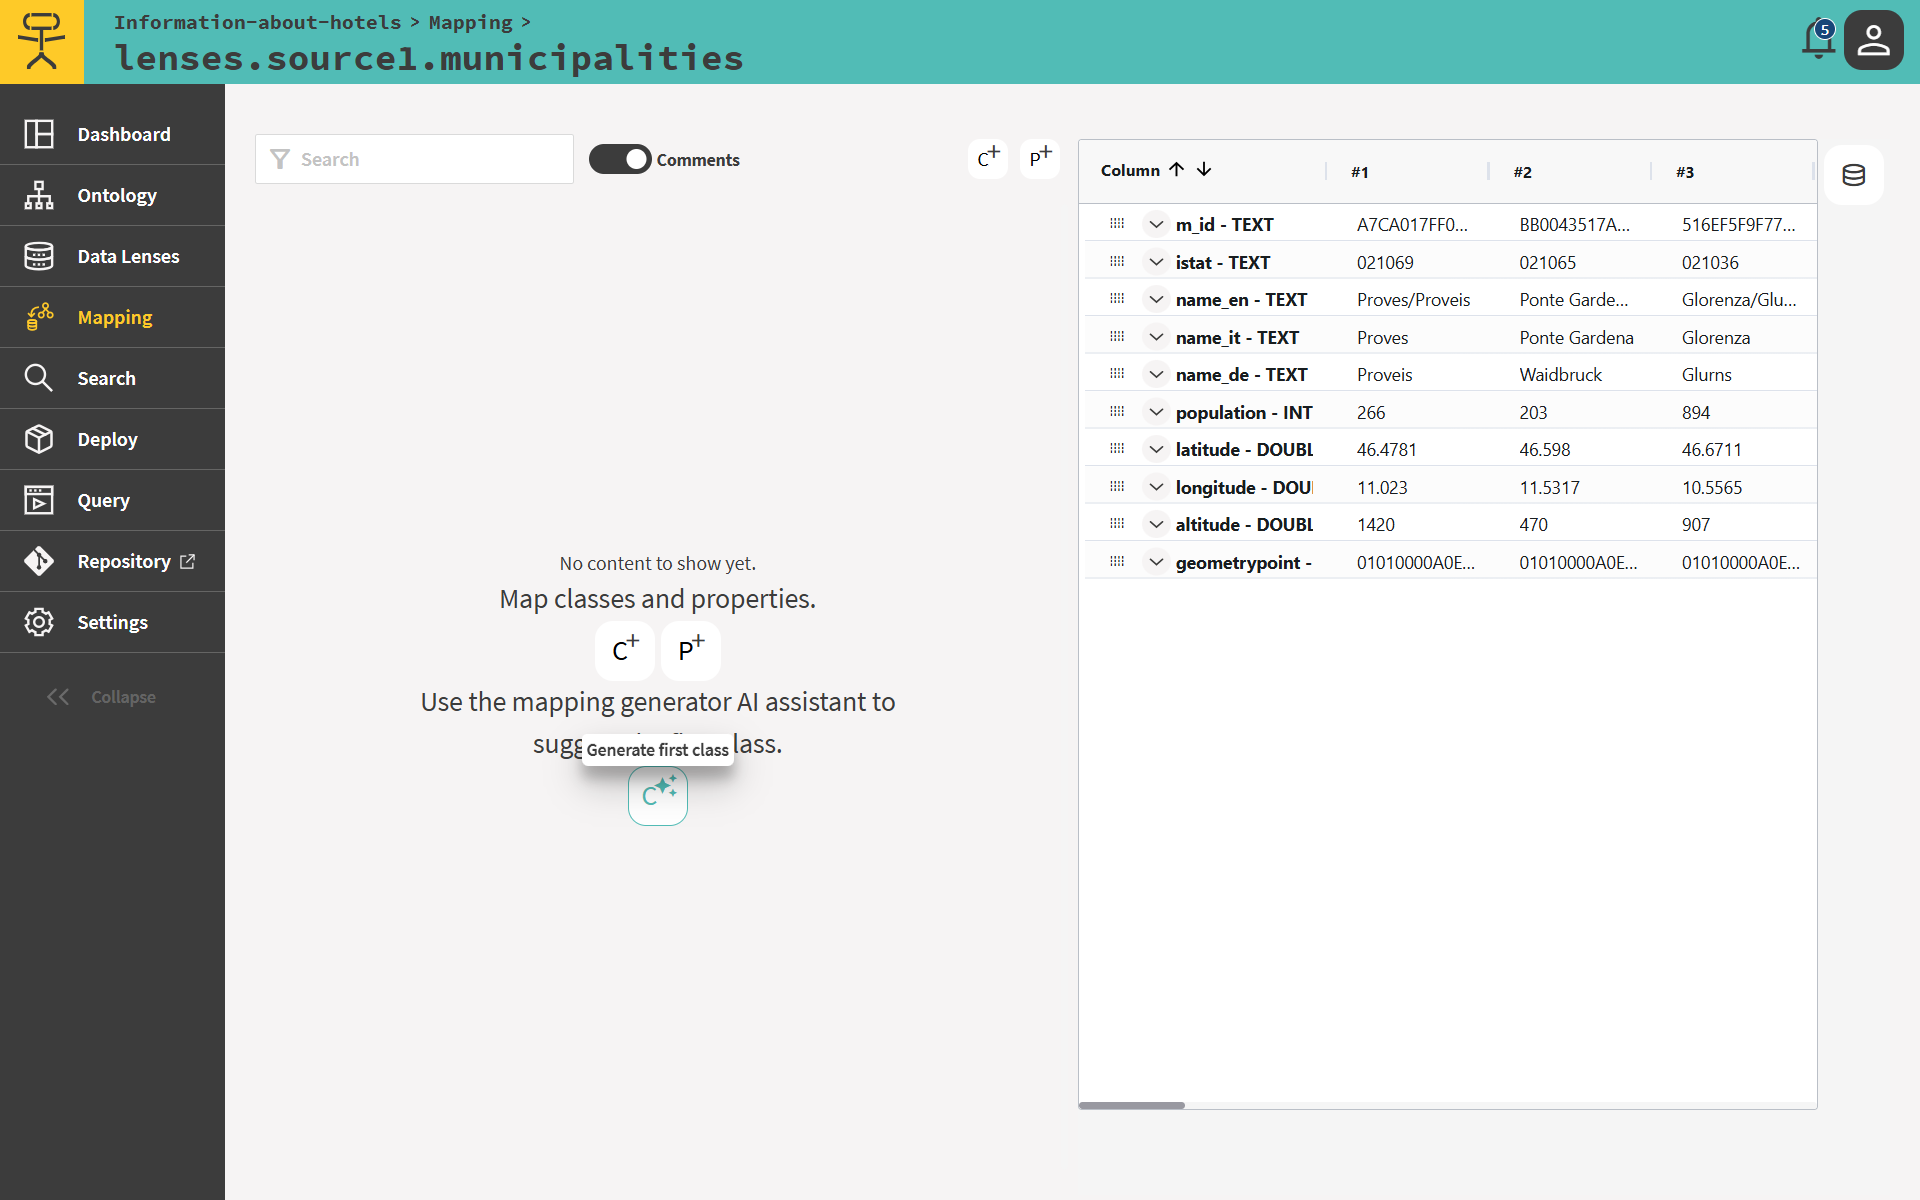
The AI service analyses the table and returns a ranked list of candidate classes:
The score is a confidence value between 0 and 1 - use it as a guide, but always review the candidates and accept the one that best fits the intended semantics.
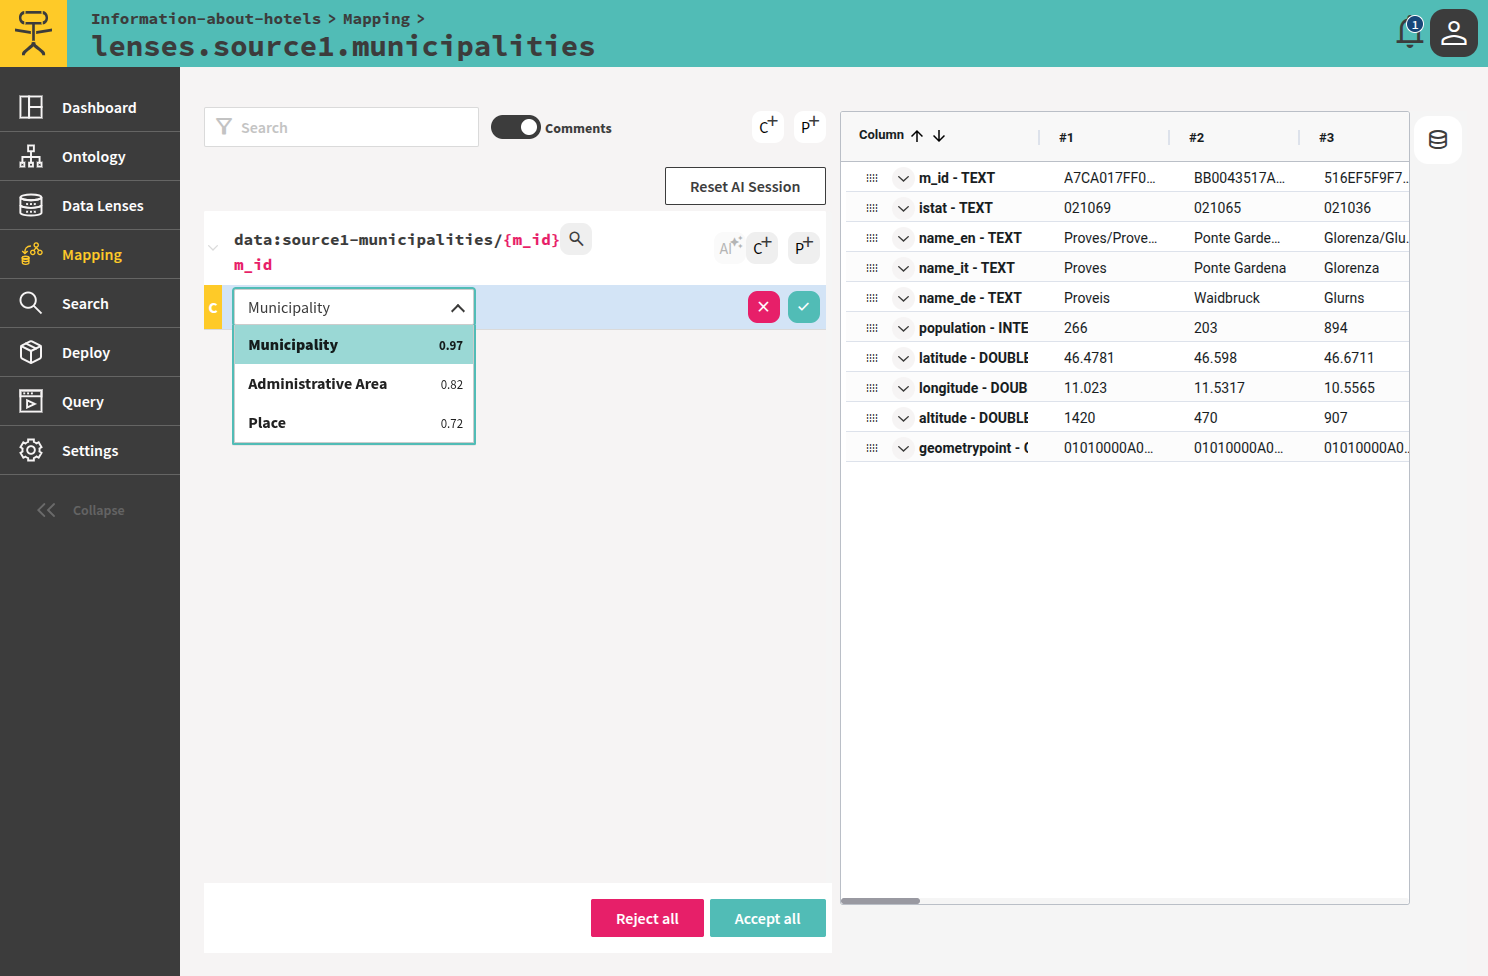
Select Municipality by clicking on the green tick.
The template data:source1-municipalities/{r_id} is now an instance of Municipality.
# Map hospitalities to a class
Select the lens lenses.source1.hospitality from the Mapping menu.
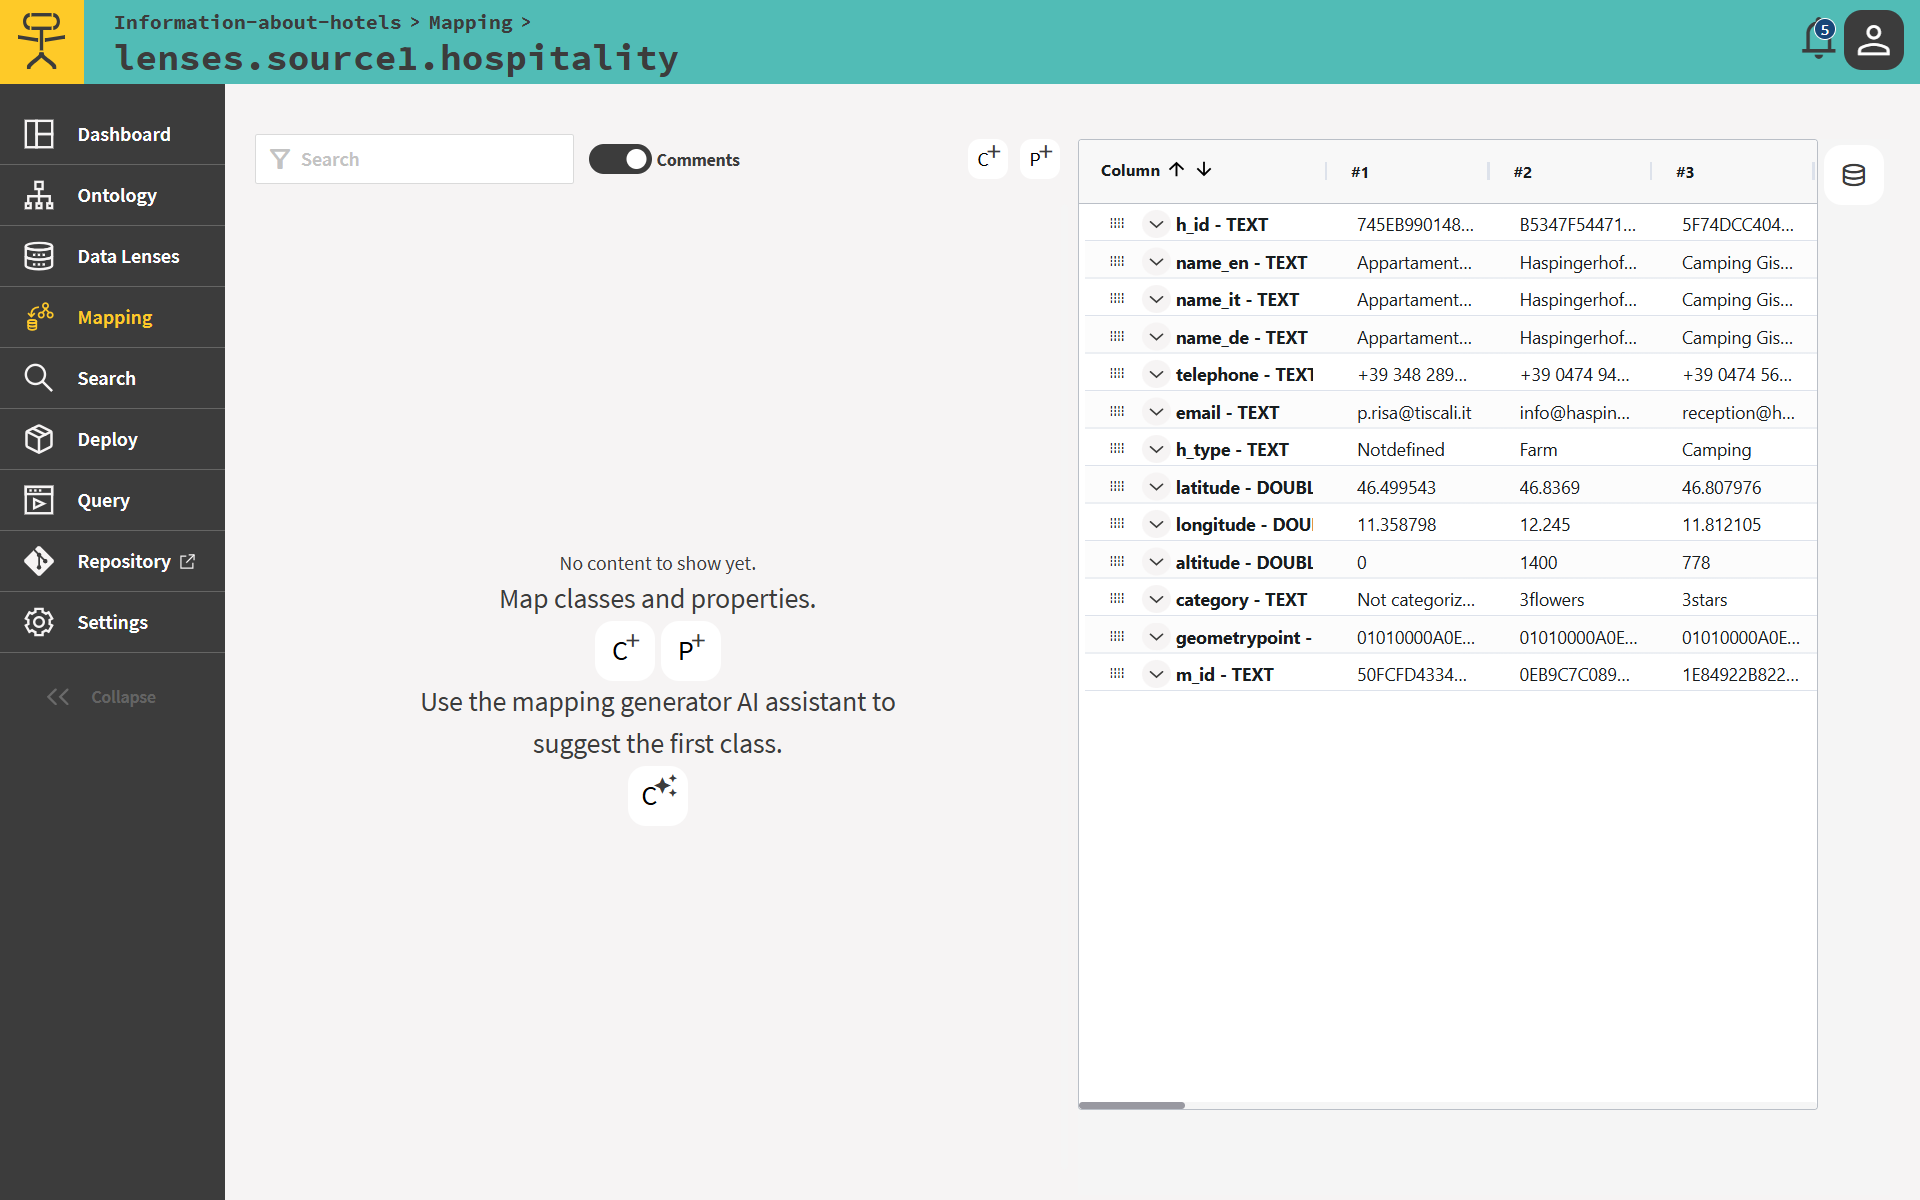
Click on the C* button.
The AI service analyses the table and returns a ranked list of candidate classes:
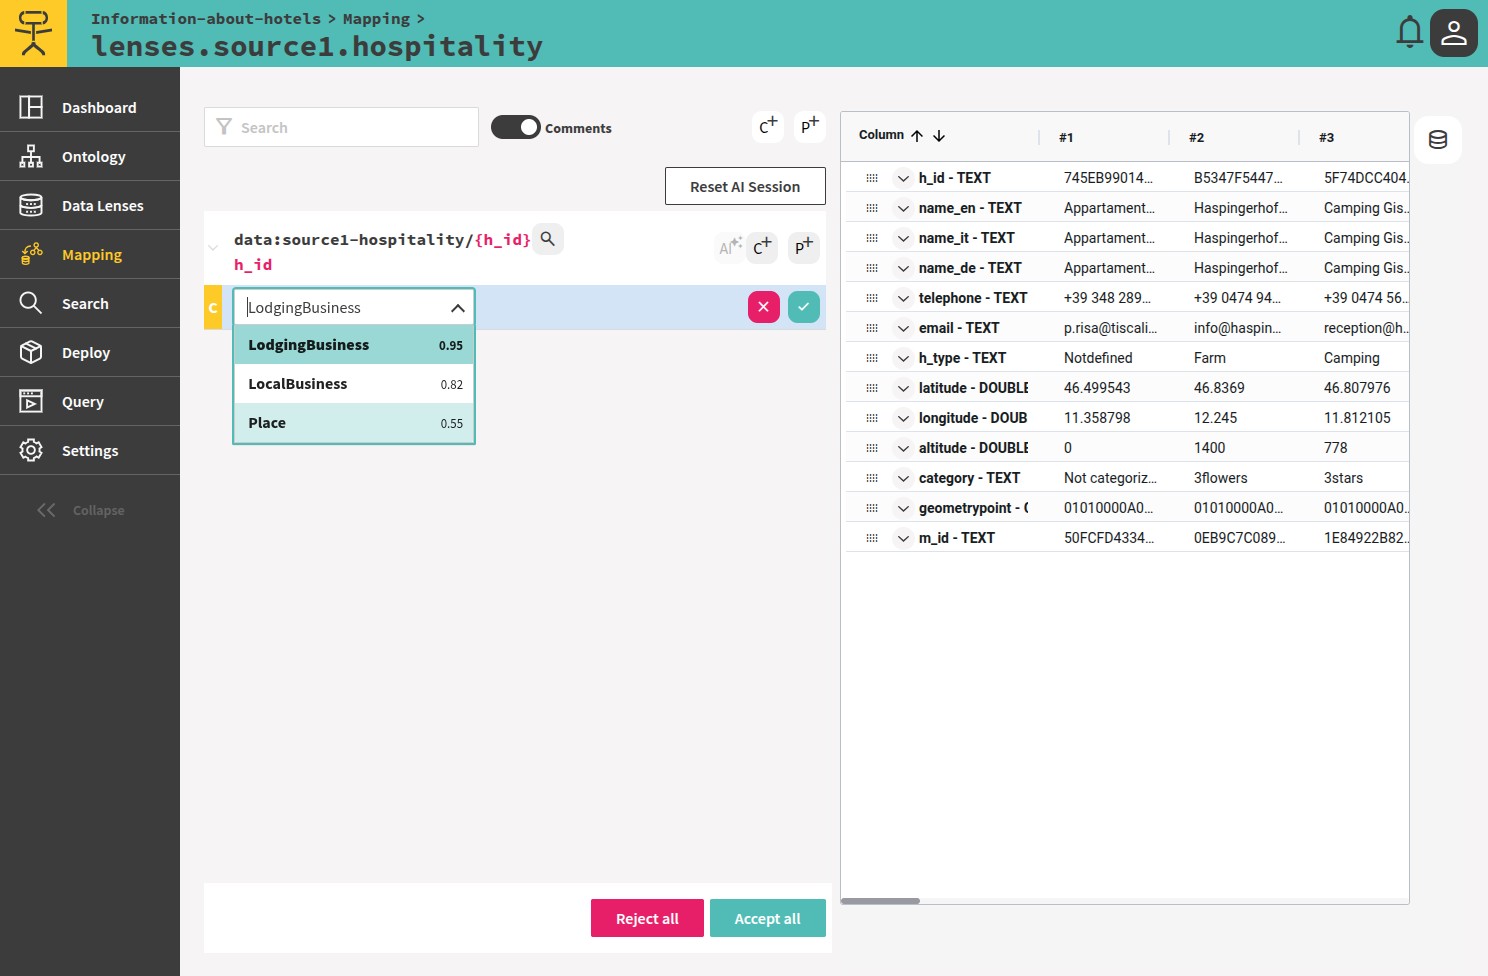
Select LodgingBusiness by clicking on the green tick.
The template data:source1-hospitality/{h_id} is now an instance of LodgingBusiness.
# Adding properties to the class instances (Mapping lens municipalities to data and object properties)
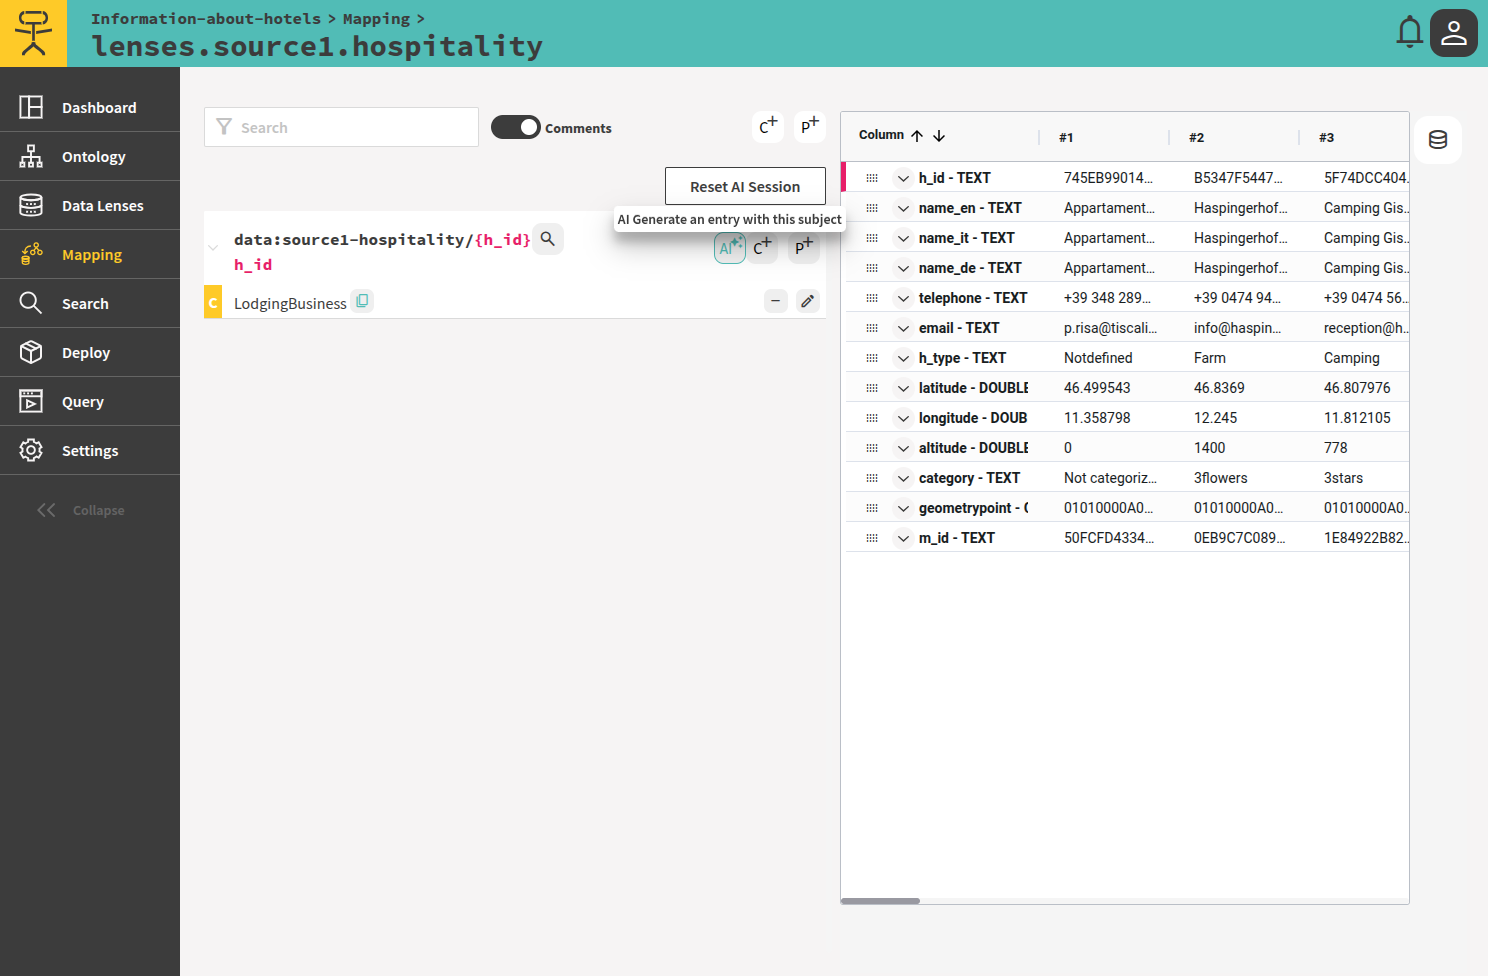
With a class assigned to both lenses, click on the AI button on the right of the template data:source1-hospitality/{h_id} once. The AI service processes the lens and streams proposals to the UI.
# Connecting municipalities to lodging businesses (Mapping a lens to an object property)
The following mapping entry (opens new window) involves two different identifiers, one about lodging businesses and one about municipalities. We have to connect these two to get the answer to our specific question.
The AI service detects that h_id is a foreign key pointing to municipalities and proposes an object property mapping entry between the two identifiers.
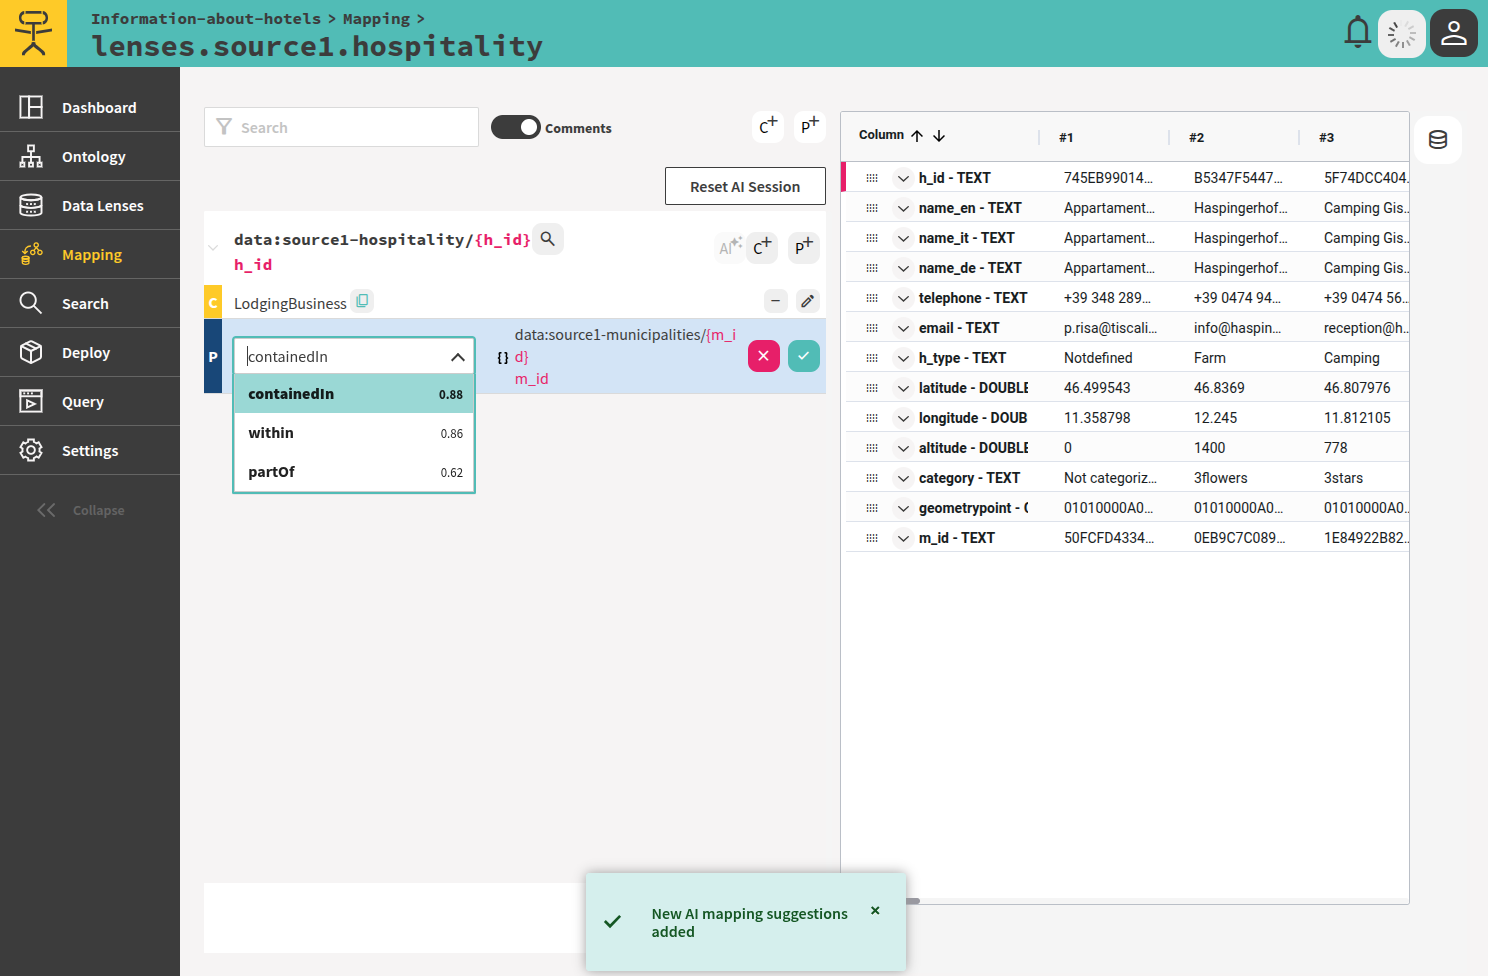
Select containedIn by clicking on the green tick.
# Adding data properties to the class instances (Mapping a lens to data properties)
The AI service then proposes data property mapping entries on the remaining columns:
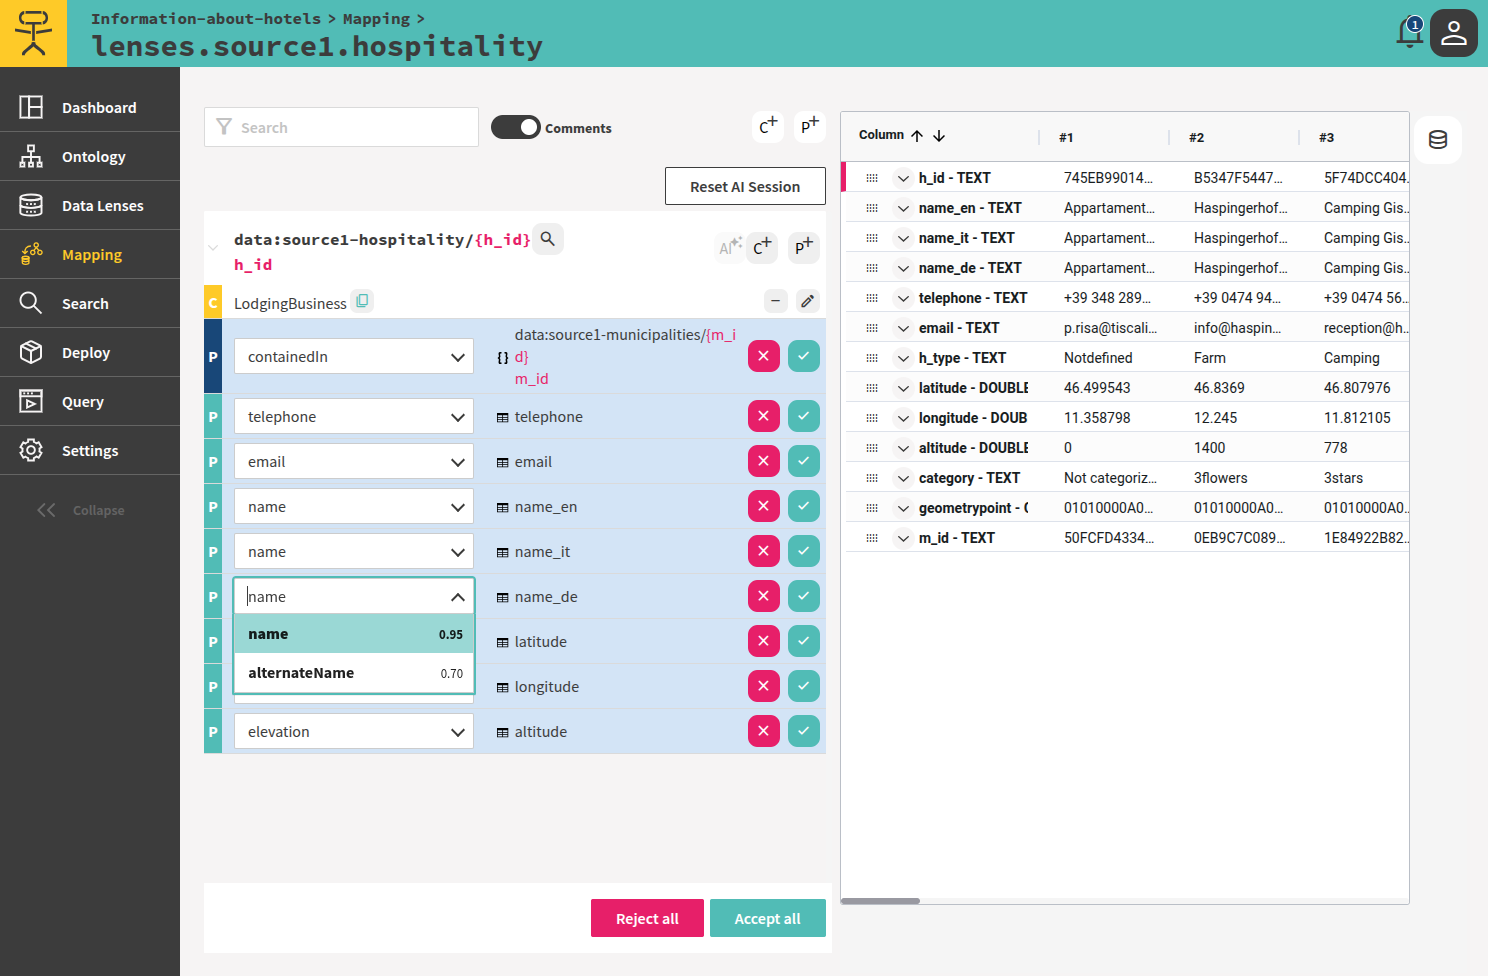
For the purpose of this quickstart reject the proposals on columns name_it and name_de by clicking on the red cross. Accept the others by clicking on Accept all at the bottom.
Important: the mapping generator is AI-based and can make mistakes. Always review every proposal before accepting - scores indicate confidence, not correctness. Results may differ from this quickstart.
# Query the Knowledge Graph using SPARQL
We can now extract key facts by testing the Knowledge Graph with SPARQL queries.
Select Query > SPARQL from the left-side navigation menu.
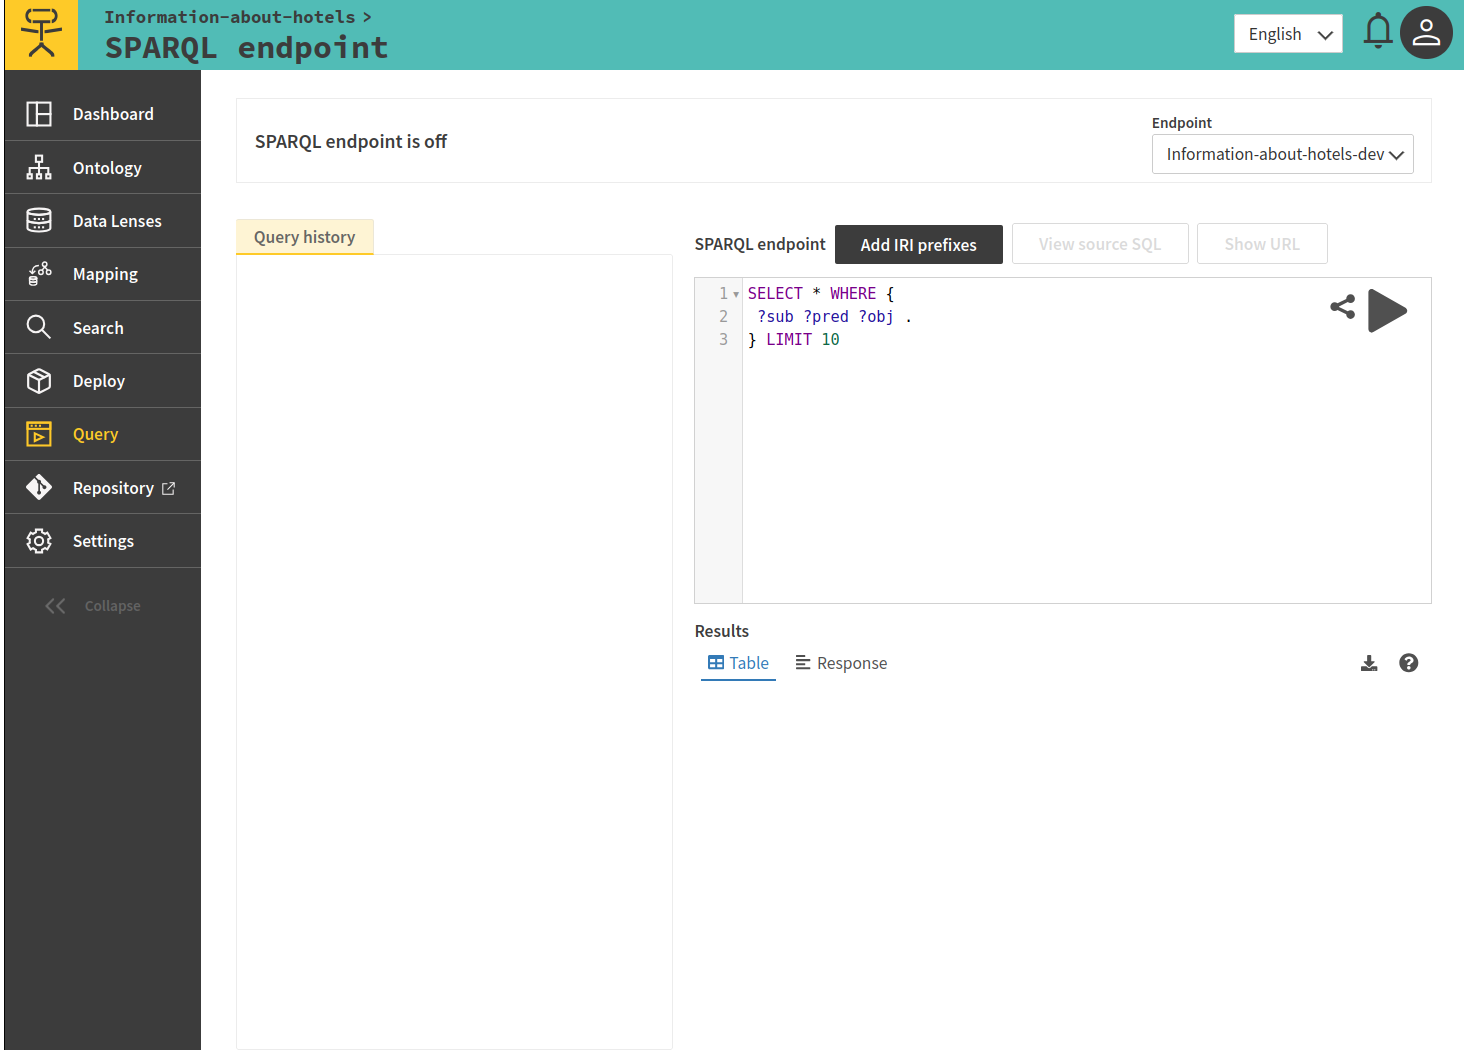
Write the query for finding the lodging businesses and click on the play button.
- First we query the first 10 lodging businesses by typing:
PREFIX dest: <http://quickstart.example.org/>
SELECT * WHERE {
    ?sub a dest:LodgingBusiness;
        dest:name ?name.
}
LIMIT 10
The first 10 lodging businesses
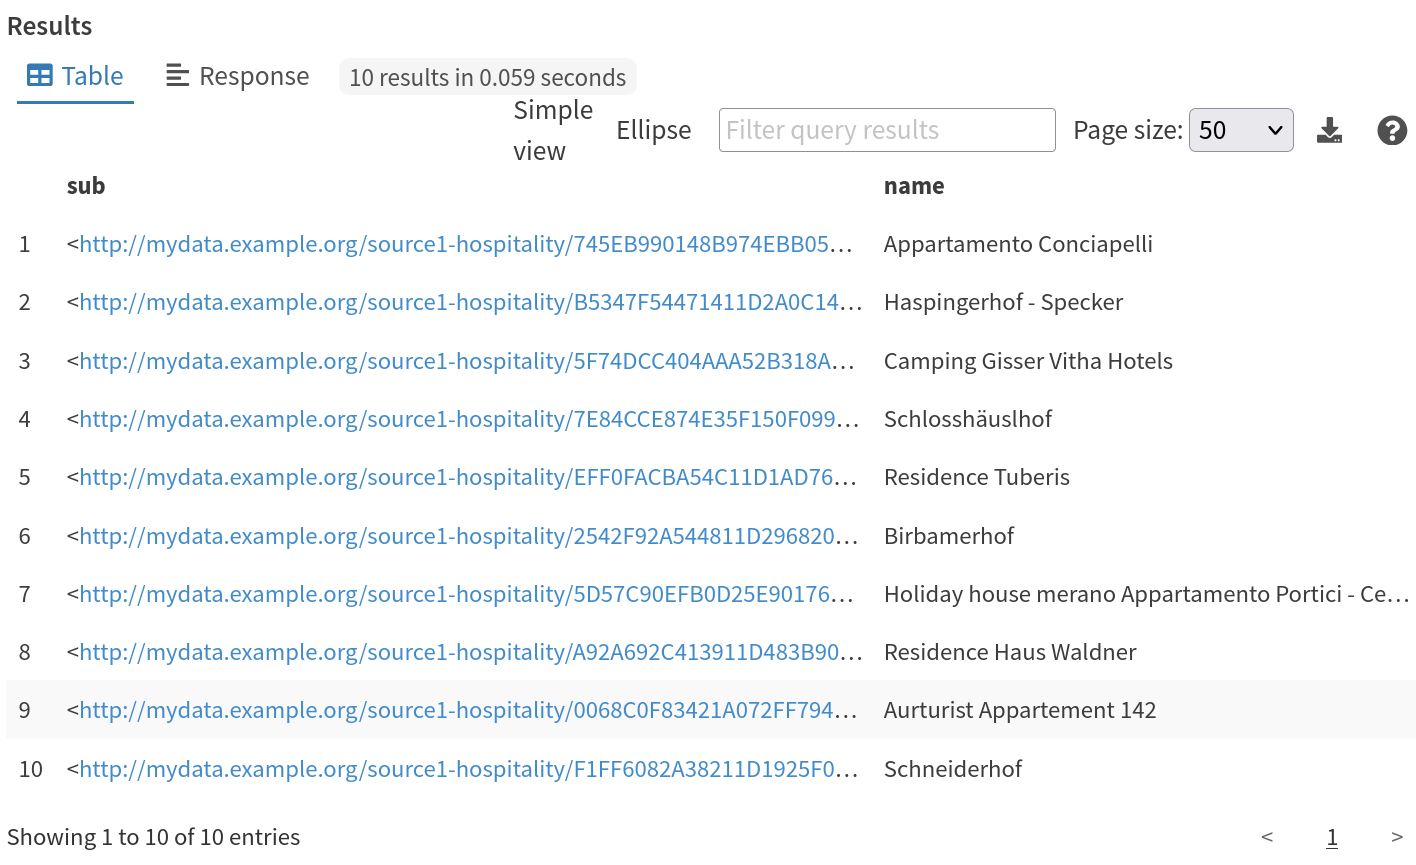
- We can get information about the municipality identifier in which such lodging business are contained in by typing:
PREFIX dest: <http://quickstart.example.org/>
SELECT * WHERE {
    ?sub a dest:LodgingBusiness;
        dest:name ?name ;
        dest:containedIn ?place .
}
LIMIT 10
The first 10 lodging businesses with their location
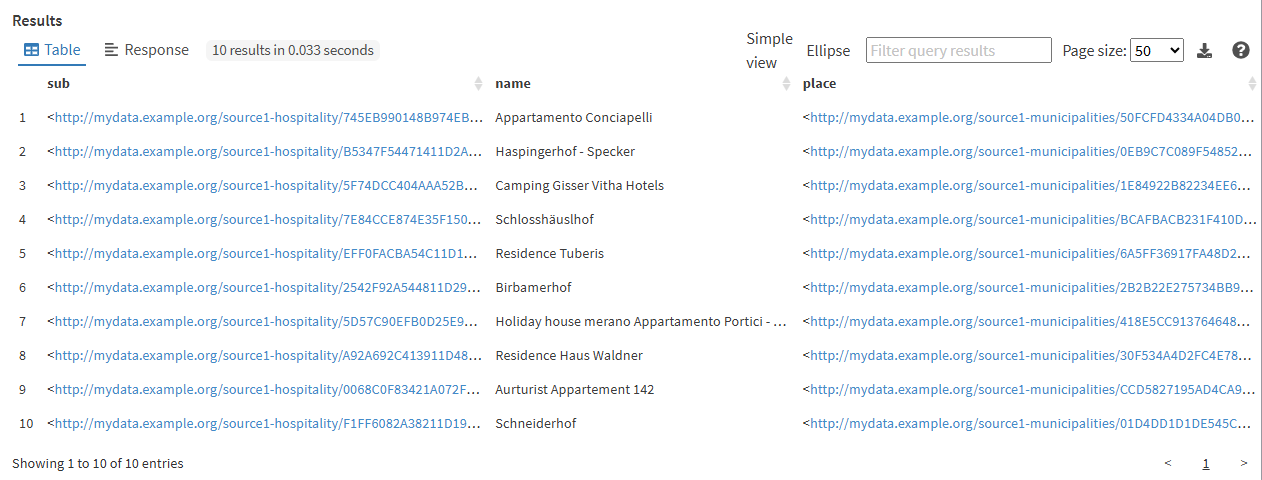
- First we query the first 10 lodging businesses by typing:
# Materialize data into a graph database
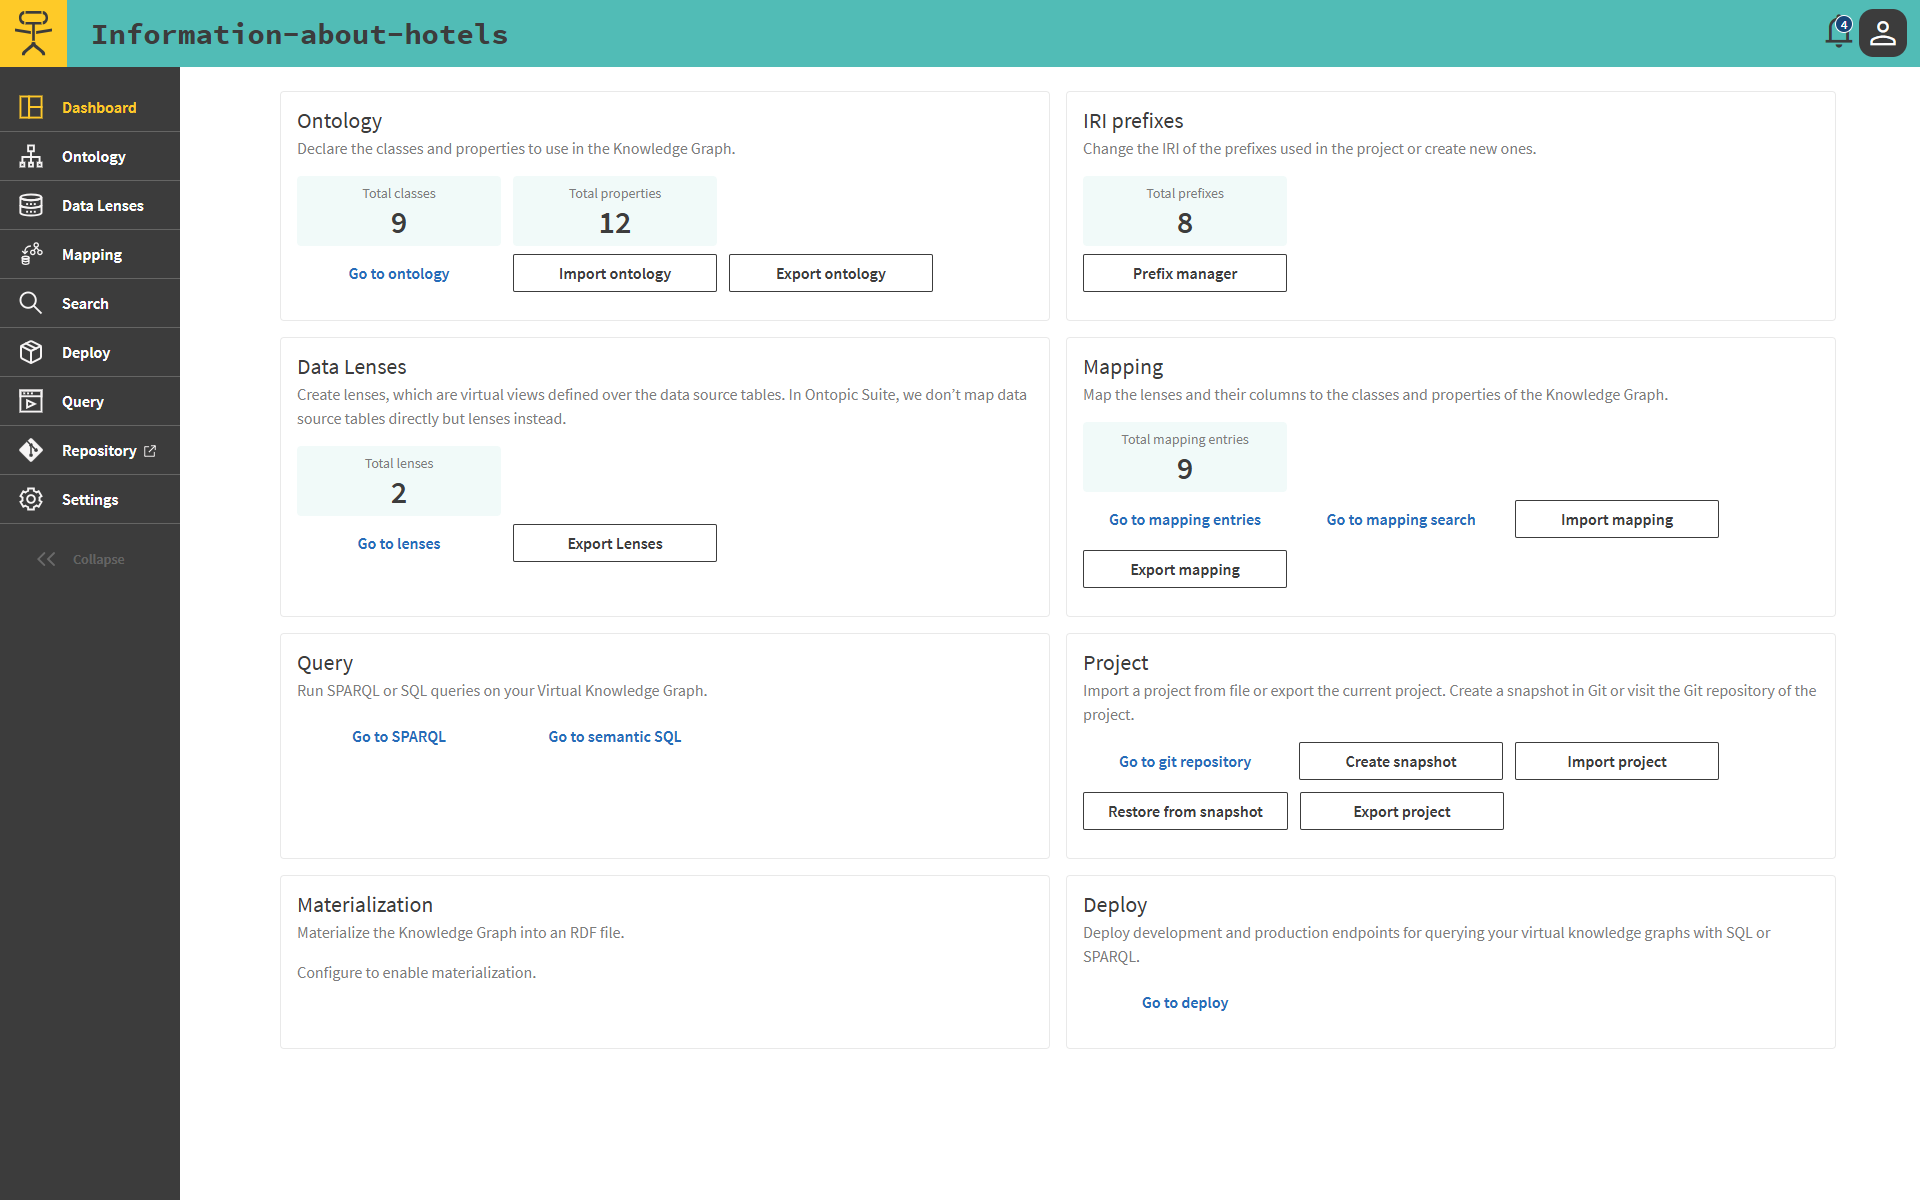
Materialize in RDF files and load into a triplestore (starting from 2024.1).
Materialization to RDF is disabled by default. See how to enable materialization with S3.
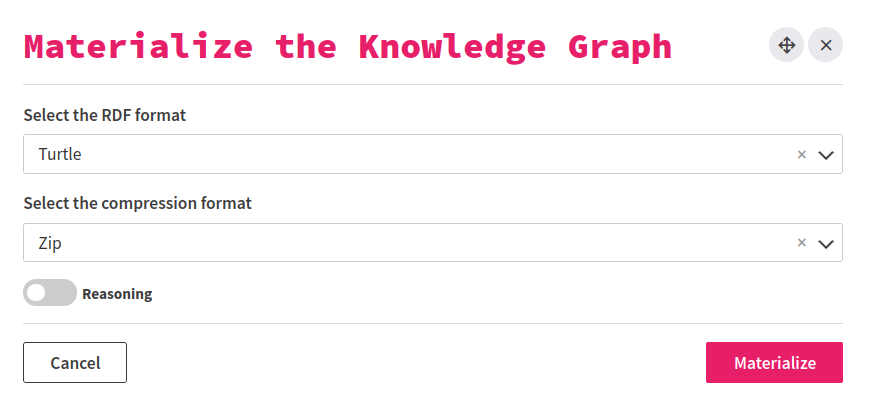
Click on Materialize to materialize the knowledge graph into an RDF file.
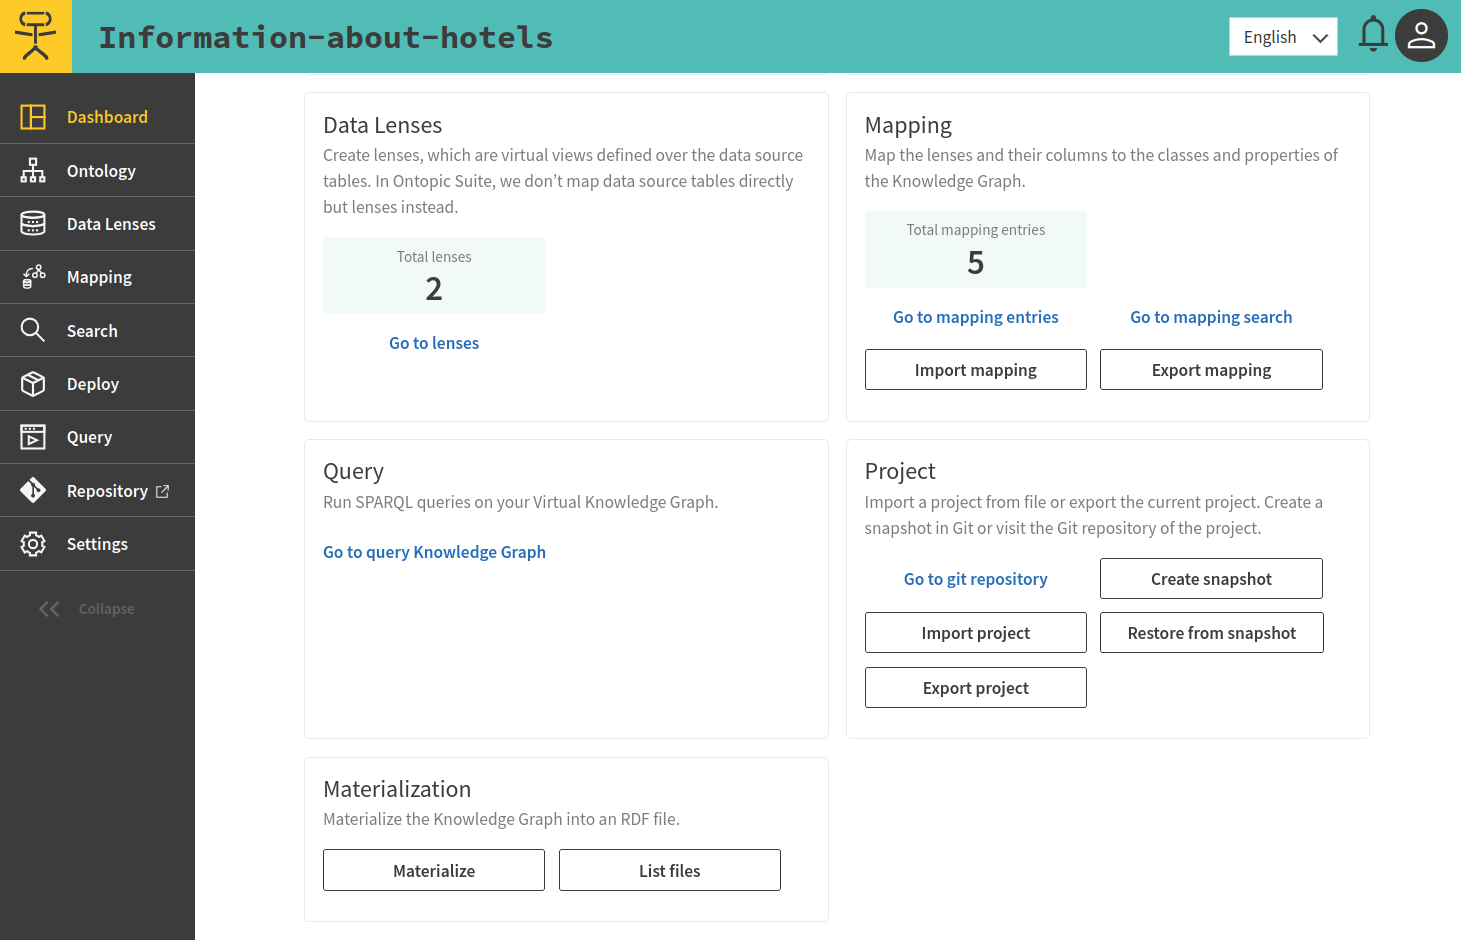
Then select the RDF format
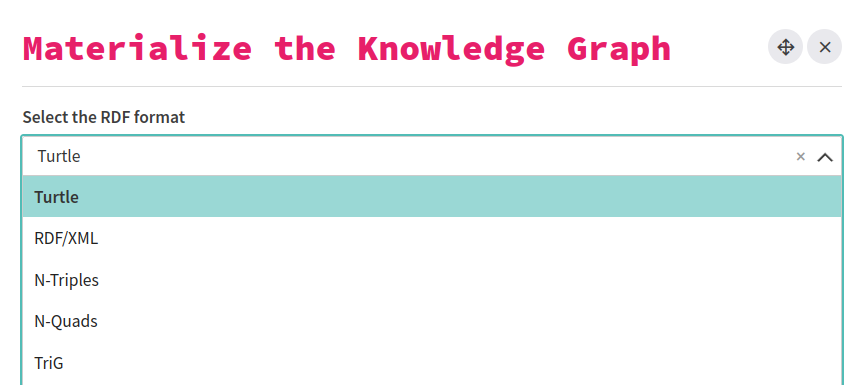
Then select the Compression format
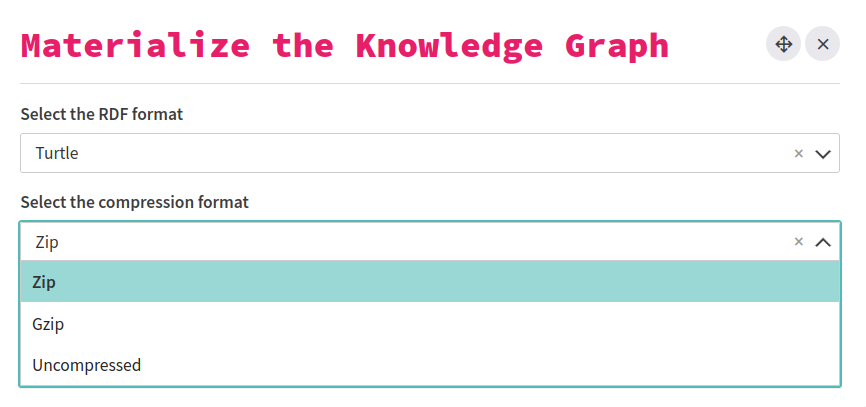
You can materialize your KG into one file in compress or uncompress format. For simplicity, we keep the default option and materialize with zip compression.
Click on Materialize, you will have all the content of KG copied to the file materialized-triples.ttl.
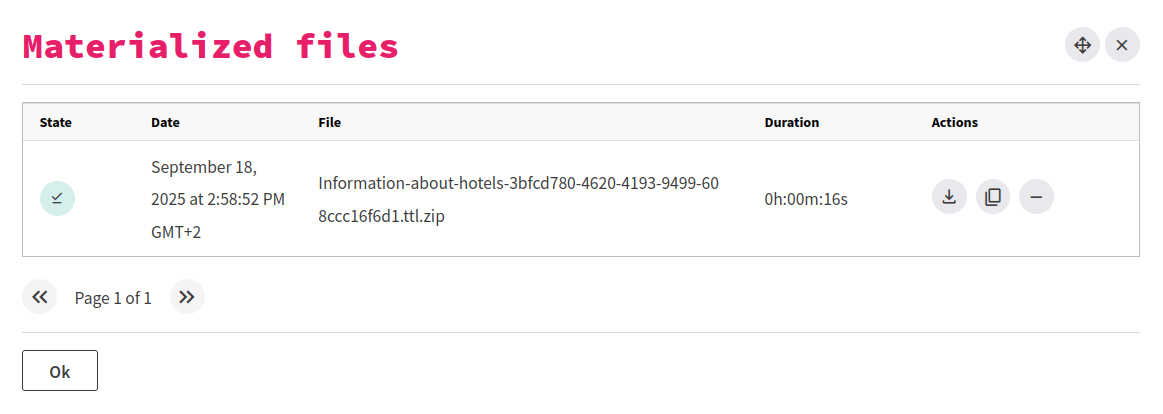
We can now see the list of materialized files by clicking on List files.
This will show a list of all materialized files. Each materialized file has three associated actions: "Export materialized file" or "Open directory", "Copy file location to clipboard", and "Delete materialized file".
# Query the Knowledge Graph using semantic SQL
We can additionally extract information from the Knowledge Graph using the semantic SQL endpoint. To more easily explore the data, we will use DBeaver (opens new window), a standard open-source SQL tool.
Connect to the Semantic SQL endpoint using DBeaver
Select Query > Semantic SQL from the left-side navigation menu.
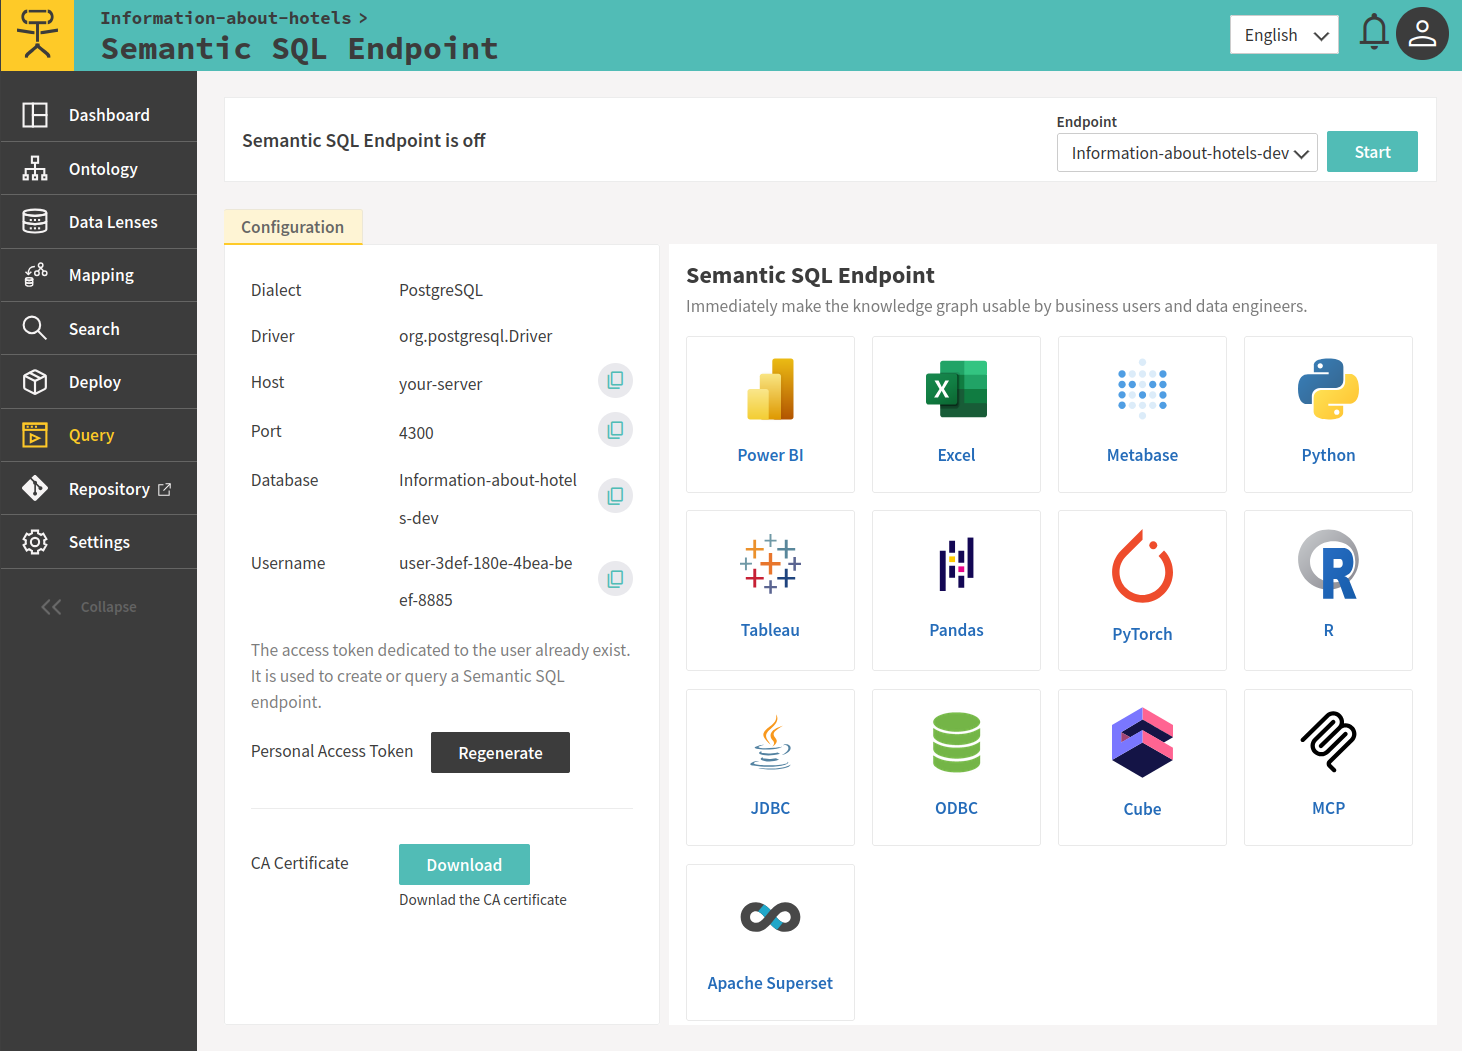
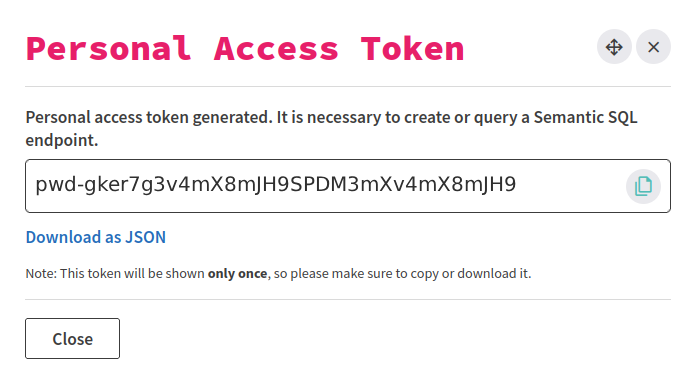
Generate a Personal Access Token by clicking the Generate button. Copy it and save it somewhere safe, as you will not be able to see it again.
Start the Semantic SQL endpoint by clicking the Start button in the top right.
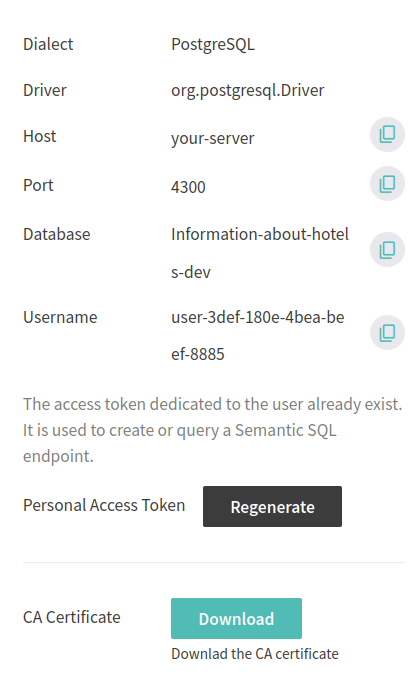
On the left, you can see the connection details to connect to the Semantic SQL endpoint. You will need these details in DBeaver.
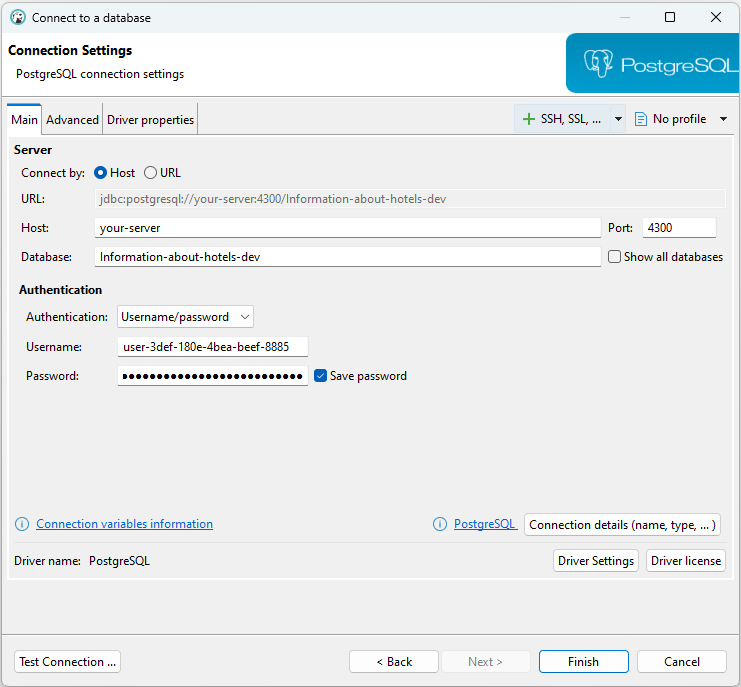
In DBeaver, go to the Database menu, select New Database Connection and choose PostgreSQL as your database type.
Fill in the connection details from Ontopic Suite, using the Personal Access Token as password. Click on Finish to save the connection.
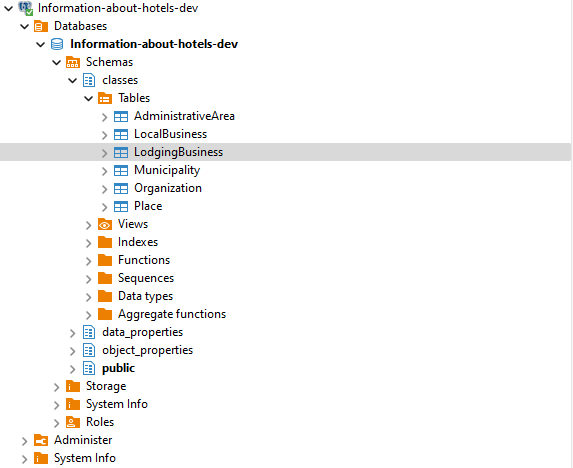
Explore the data using the DBeaver UI
From the left side panel, expand the connection created until you see the LodgingBusiness table and click on it to see the data.
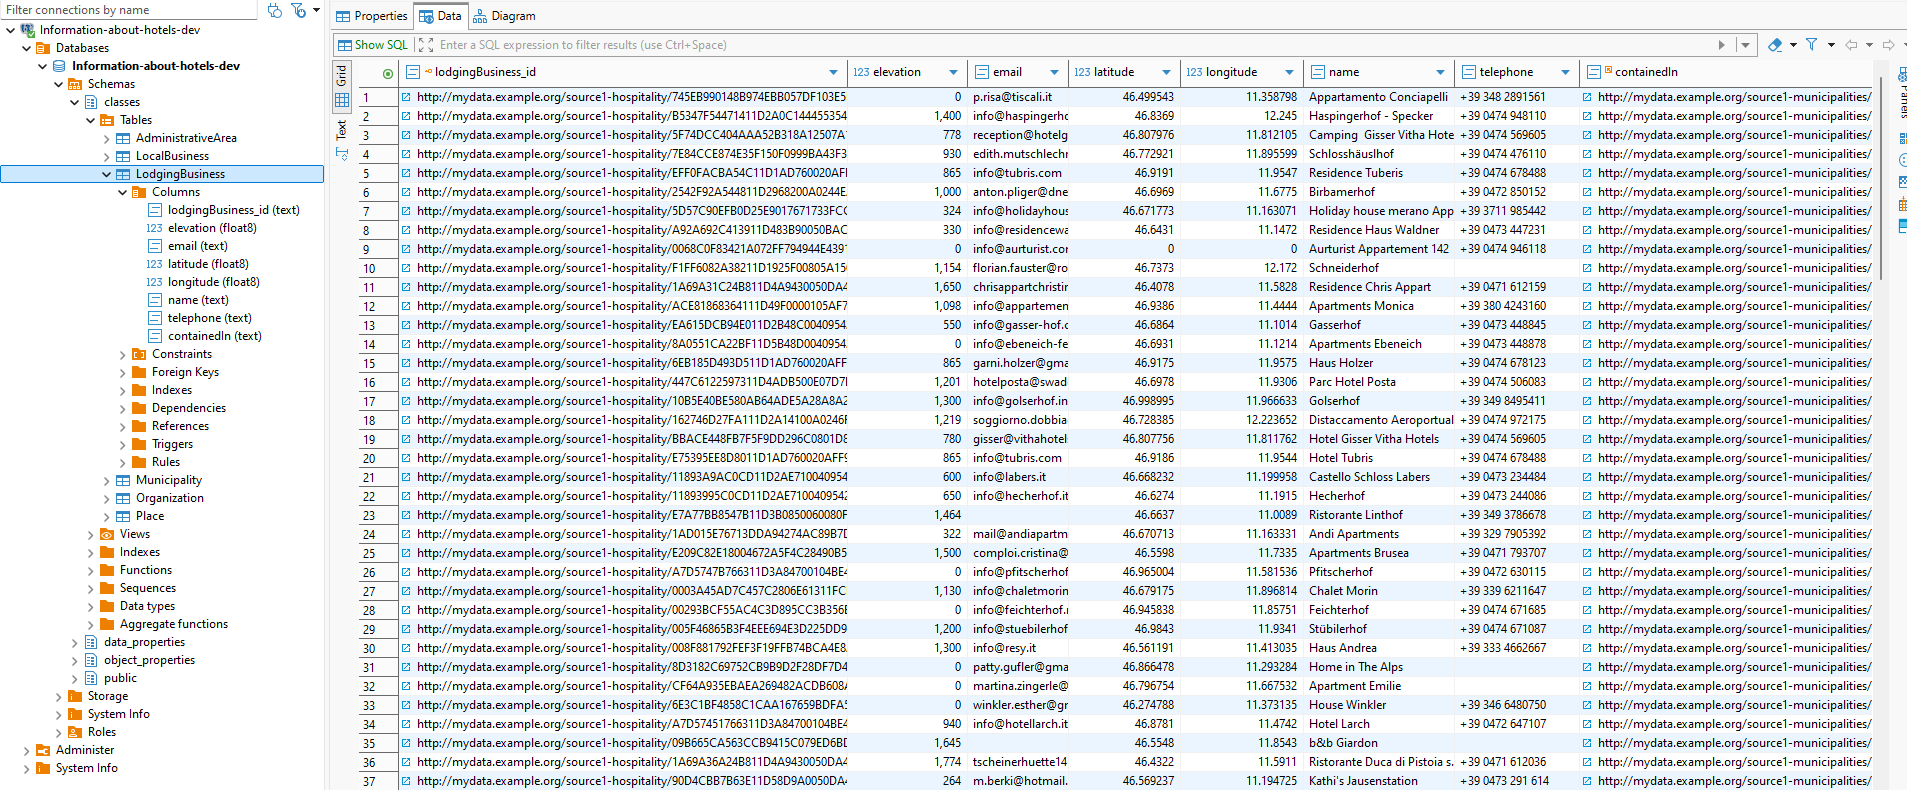
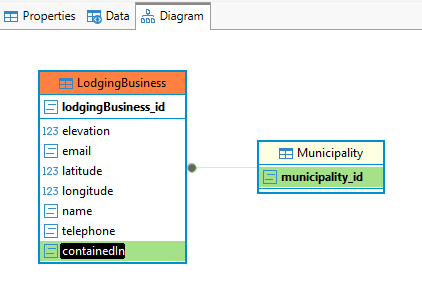
Alternatively, if you move from the Data tab to the Diagram tab, you can visualize the Entity-Relationship diagram for the data.
Query the data directly using SQL
In DBeaver, right-click on the connection name and select SQL Editor > New SQL Script. A new tab will open where you can type your SQL queries.
To run the same query defined in the SPARQL section and retrieve the first 10 lodging businesses in South Tyrol, enter the following SQL query and click on the play button.
SELECT *
FROM "classes"."LodgingBusiness"
LIMIT 10;
The first 10 lodging businesses in in South Tyrol.
